
This is a very traditional cake in Galicia. It is very sweet dressed with custard, syrup and lots of sugar. It is an amazing cake that deserves a lot of attention and we usually have it in Carnivals or San Juan’s day. But really, we had it a lot over the summer.
If you don’t know Galician, Larpeira means a female that likes sweets a lot. So if you love cakes, tarts and everything sweet, in Galicia you will be called a larpeira/o. I am a proud larpeira.

We used to have this a lot in the country side. I may have mentioned before that there was a bakers just opposite our chalet, so yes, fresh Larpeiras when my mum ordered them. They were so good for breakfast and dipped in my colacao back then. Just the thought of it makes me dribble.
But one thing. I’m not going to lie. It is not quick, but it is so amazingly delicious that all the hard work pays out in the end because a Larpeira is a party for your taste buds (and I’ve reduced the amount of sugar used so it is still sweet but not too much).
So please, enjoy this recipe that comes all the way from my kitchen to you.
You can find the step by step video to this recipe here:
Larpeira
Ingredients
FOR THE DOUGH:
- 100 ml Milk (add 5 ml more if too dry)
- 400grs Plain Flour
- 2 Eggs
- 50 grs Sugar
- 60grs Butter at room temperature
- 5grs Salt
- 25grs Fresh Yeast
- 1 Egg for painting
FOR THE CUSTARD:
- 500ml Milk
- 60grs Sugar
- 3 Egg Yolks
- 1 Egg
- 50grs Cornflour
- 1 tsp Vanilla Essence
- 30grs Butter
FOR DECORATION:
- 1 tbs Sugar
- A few drops of Aniseed Essence
FOR THE SYRUP:
- 40grs Sugar
- 80grs Water
- A couple of drops of Aniseed Essence
Directions
-
- Break the fresh yeast into the milk and dissolve it using a fork. Set aside.
- .Put the flour in a bowl and add the salt and sugar to it. Mix.
- Add the beaten eggs, mix slightly and follow with the butter. Now mix until combined.
- Once this is done add the milk with the yeast to the mix.
- Mix until you get a sticky dough.
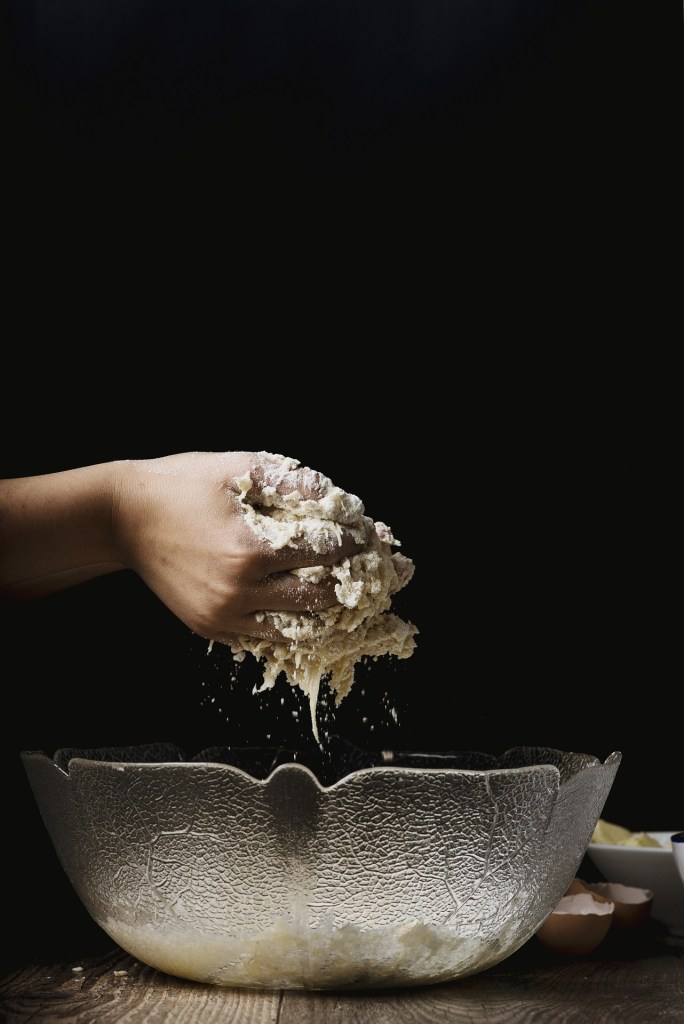
- Flour the counter and knead the dough with your hands. Knead, pull, fold, repeat. (It took me some time to get it right)
- Do not overwork the dough as it will not rise afterwards. Knead for about 10-12 minutes.
- Shape into a ball and move on to a round lined greased tray and flatten to give it a round shape, about a finger thick.
- Cover with a clean cloth and let it rise for 1.5 to 2 hours in a warm place.
- While the dough is rising, we will work on the custard by putting the milk in a pot on the fire.
- Add half of the sugar and mix well.
- While the milk heats up slowly, put the 3 egg yolks in a bowl.
- Follow with the whole egg, the rest of the sugar and the vanilla essence and mix until creamy.
- Sieve the cornflour onto the egg mix.
- Add this to the milk slowly while whisking constantly until we get a medium thick custard (about 7 to 10 minutes).
- Put aside and allow to cool down completely.
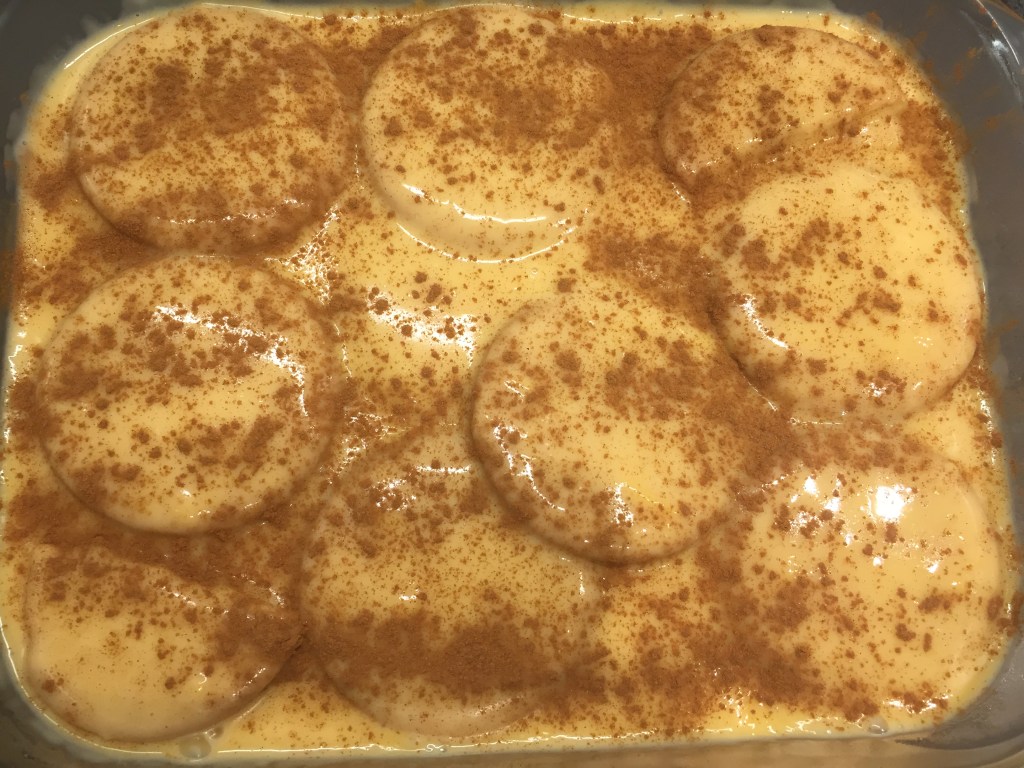
- Check that the dough has risen, score it with a knife in a criss-cross, not too deep, creating medium sized squares (see picture to get an idea)
- Paint the dough with beaten egg.
- Put the custard in a pipping bag and fill the criss-cross scored lines.
- We will continue with the decoration. Add the aniseed (between 7-10 drops) to the sugar and mix until all wet.
- Pinch the sugar and add to each square equally.
- Put in the oven for 20 to 25 minutes at 180 degrees. Check your oven from time to time to make sure it doesn’t burn as all ovens are different.
- While this is baking, we’ll prepare the syrup.
- Add the sugar and the water to a small pot together with a few drops of aniseed essence, put on medium-low heat and mix until we get a clear reduce syrup and set aside.
- Once the larpeira has cooked, take it out of the oven, prickle with a toothpick all over and paint it with the syrup.
- Let it cool down.
- Serve and enjoy!


Leave a reply to Biscuits & Custard – The Spaniard's Kitchen Cancel reply